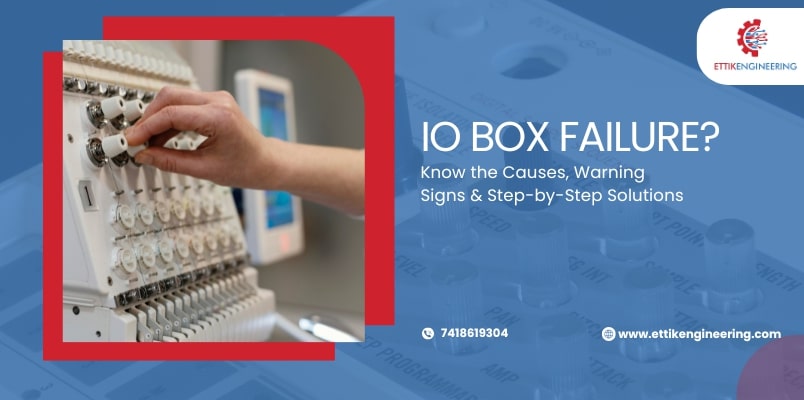

People working in industries like automation or electrical systems often use IO boxes. It stands for Input Output box and helps connect different machines, sensors and devices in one place. If you are looking for the right IO box in Pune, this guide is for you.
At Ettikengineering, we provide expert support and custom IO box in Pune for all types of industrial setups. In this blog, we’ll show you how to install and configure an IO box step by step and help you avoid mistakes that can cost you time and money.
| What Is an IO Box? An Input Output box is a small control box that connects sensors and devices to your main control system, like a PLC. It makes wiring simple, neat, and safe. You’ll often find IO boxes in industries like:ManufacturingAutomationPower plantsSmart buildingsIf you need a reliable IO box in Pune, you must choose the one that matches your system and safety needs. |
Explore different IO Simulator types and real-world use cases
Why Proper Installation Matters

A poorly installed IO box can cause:
- Machine downtime
- Short circuits
- Wrong data signals
- Safety hazards
That’s why many businesses trust the best IO box suppliers in Pune, like Ettikengineering, for guidance and setup.
Tools and Materials You’ll Need
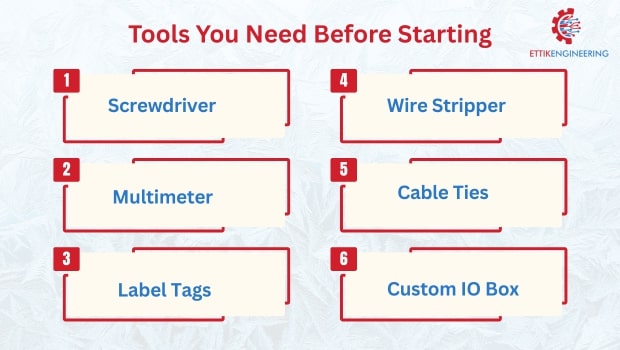
Before you start, gather these tools:
- Screwdriver set
- Wire stripper and cutter
- Label tags
- Multimeter for testing
- Mounting screws and cable ties
You’ll also need:
- The right custom IO box in Pune (based on your system)
- Terminal blocks and connectors
- A wiring diagram (always useful)
Step-by-Step Installation Guide
Step 1: Choose the Right IO Box
Start by picking the correct Input Output box in Pune based on:
- Number of input/output ports
- Environment (dusty, wet, hot)
- Mounting type (wall, panel, DIN rail)
- Plastic or metal casing
Tip: If you need a unique size or port setup, go for a custom IO box in Pune. This helps avoid overpaying or underusing.
Step 2: Plan the Mounting Location
Mount the IO box in a clean, dry, and accessible area. Make sure:
- It’s near the machines it connects
- It doesn’t block airflow or doors
- It follows your site’s safety codes
Use screws, brackets, or DIN rails based on the IO box design.
Step 3: Mount the IO Box Safely
Once the location is clear, mount the box tightly using screws or clamps. Ensure it’s firm and not shaking. Connect the ground terminal properly to avoid electrical faults.
Step 4: Wire the Inputs and Outputs
Start connecting:
- Sensors to input terminals
- Actuators or machines to output terminals
Use wire labels to mark each cable. Follow color codes and your wiring diagram. Tighten all screws and avoid loose wires.
Step 5: Connect the IO Box to the PLC or Control System
Use standard communication cables to connect the IO box to your PLC or controller. Double-check:
- Pin configurations
- Input/output mapping
- Voltage ratings
This is where errors often happen, so take your time.
Step 6: Run a Test
Power up your control system and test all connections. Use a multimeter to check voltage and signal flow. If something doesn’t work, check:
- Loose wires
- Wrong ports
- Faulty devices
Once everything works, close the IO box lid and seal it with cable glands or covers.
Tips for Long-Term Use
- Clean the box every few months
- Check for rust or moisture
- Update the wiring diagram if you make changes
- Use only high-quality connectors and wires
If you’re unsure, reach out to besour t IO box suppliers in Pune for guidance.
Tips to choose the best IO Simulator for your needs
Common Mistakes to Avoid
- Using the wrong type of IO box (indoor type in an outdoor setup)
- Over-tightening terminal screws
- Ignoring wire labels
- Skipping safety grounding
- Forgetting to test before powering full load
Avoiding these mistakes can save you hours of rework and prevent damage.
Why Choose Ettik Engineering for IO Boxes in Pune?
At Ettikengineering, we supply and support IO box in Pune for all industries. Whether you need a ready-made solution or a custom IO box in Pune, we’ve got you covered.
Why we’re trusted by businesses:
- 10+ years of experience in industrial electrical systems
- Top-rated Input Output box in Pune with full installation support
- Fast delivery and expert advice
- Certified team for on-site assistance
We are proud to be known among the best IO box suppliers in Pune, and we work hard to keep that trust.
Installing and setting up an IO box isn’t hard—but it needs careful planning and proper tools. With this guide, you now know how to install, wire, and test an IO box safely.
If you’re still unsure or need a custom solution, Ettik Engineering is here to help. We offer high quality, tested and reliable custom IO box in Pune tailored to your needs.
Need help with IO box installation?
Contact Ettikengineering — one of the best IO box suppliers in Pune.